How do you safely clean siding without damaging it? What type of cleaner works on the green grime that builds up after a long Wisconsin winter? And is it worth doing yourself?
If you’ve asked yourself any of these questions while staring at your home’s exterior, you’re in the right place. Siding tends to take a beating through Wausau’s changing seasons, and cleaning it properly requires more than a garden hose.
Our complete guide to properly cleaning your siding will walk you through everything you need to know, from identifying your siding type to rinsing and drying techniques. Here’s how to do the job right from start to finish.
Identify Your Siding Type
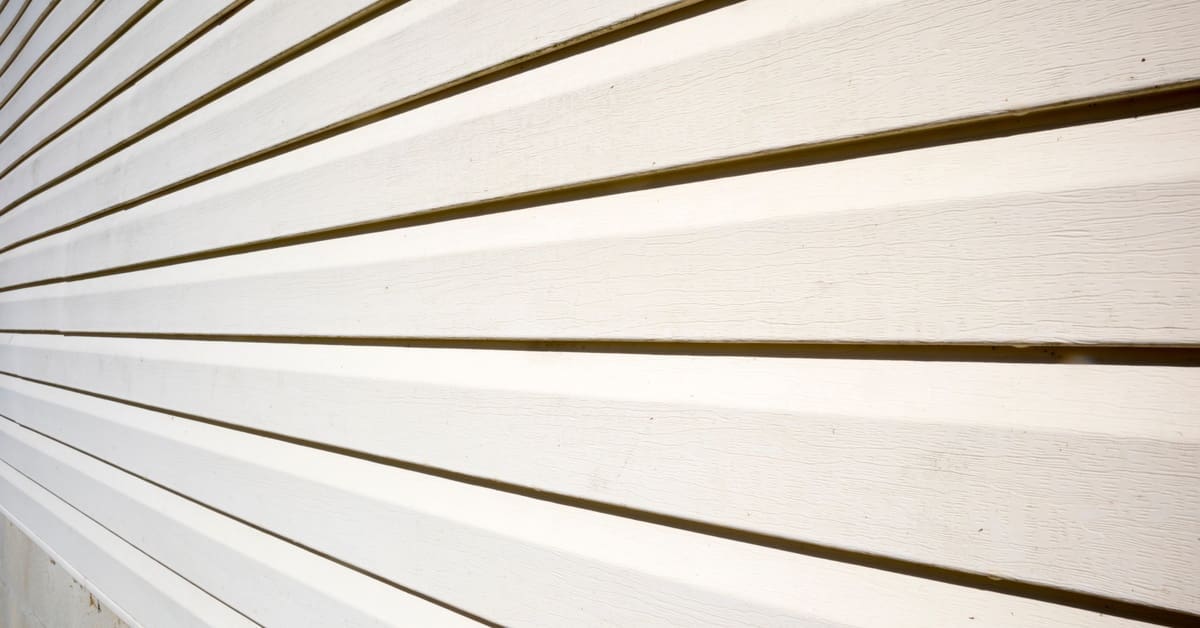
Before cleaning anything, take a moment to determine which type of siding you’re working with. This is particularly important if your home was built or renovated within the last 10 to 15 years using modern materials like Norandex or Mastic.
Vinyl siding, like Norandex’s premium vinyl options, resists weather and fading but is susceptible to discoloration if cleaned with the wrong chemicals. Mastic’s vinyl siding, with solar defense reflective technology, holds up well against sun exposure but can still warp if exposed to high heat, like from an overly aggressive power wash.
Aluminum siding, another material offered by Mastic, is more resistant to fire and impact than vinyl but can show oxidation or chalking. It benefits from gentle, non-abrasive cleaners and softer tools.
Prepare the Area and Yourself
Once you’ve identified the material, it’s time to prep the workspace. This step is often overlooked, but skipping it can lead to damaged plants, stained furniture, or personal injury.
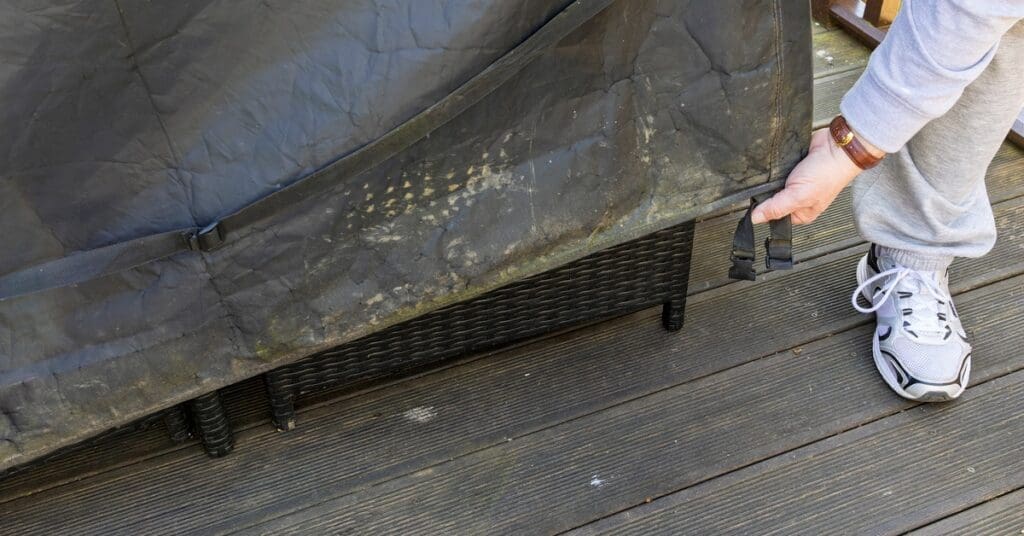
Start by moving any grills, patio furniture, flags, or decorative items several feet away from the home. Anything that can’t be moved, like light fixtures or wall-mounted hose reels, should be covered with a plastic tarp.
Plants and shrubs along the house should also be covered with breathable mesh or plastic sheeting to protect them from harsh chemicals. But don’t leave your greenery covered for more than an hour if the weather is hot and sunny.
Protect yourself, too. Cleaning siding often involves overhead work, wet surfaces, and long-handled tools. Wear closed-toe shoes with good traction, rubber gloves to protect your hands from cleaning agents, and safety glasses to shield your eyes from drips and splashes. And when you’re working with stronger solutions or expect a lot of mildew buildup, a mask rated for chemical fumes may be worth considering.
Choose the Right Cleaner
Not every cleaner is siding-safe, and using the wrong product can dull the finish, strip away UV coatings, or lead to warping. Avoid any cleaner that contains bleach, ammonia, or solvents, particularly if you have dark-colored or textured vinyl.
For general cleaning, a simple mix of one gallon of warm water and one-quarter cup of mild dish soap is effective and safe for both vinyl and aluminum. Use this for yearly cleanings or light buildup.
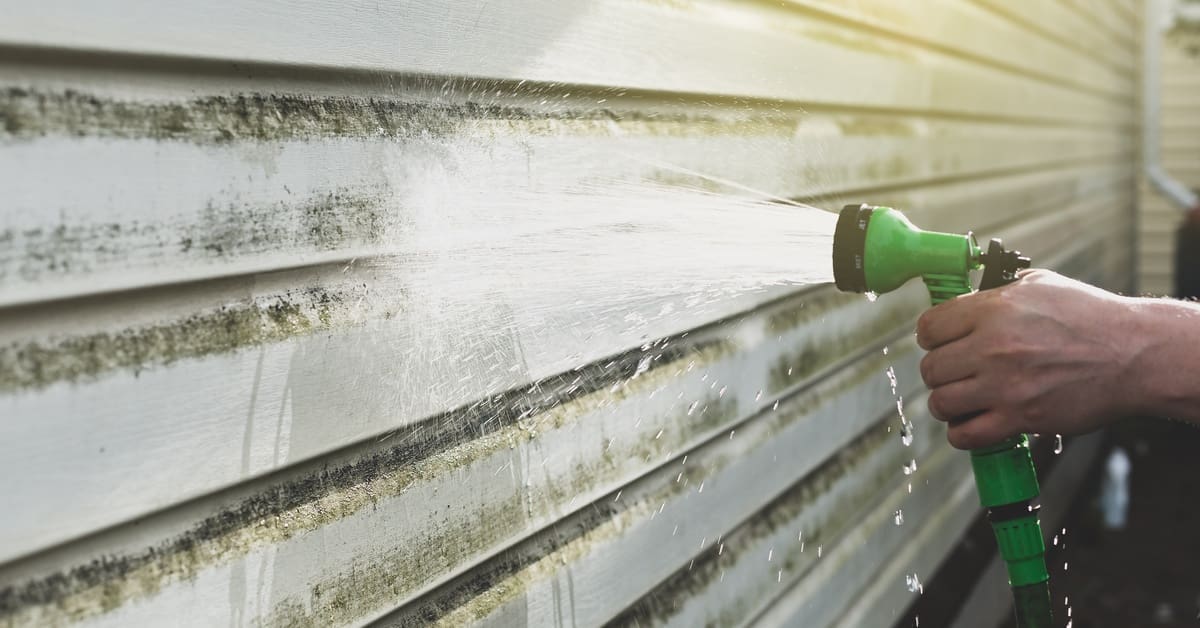
For mildew or algae, especially on the north-facing side of a home or areas with overhanging trees, try a 70/30 mix of water and white vinegar. Rust or bug stains may require an oxygenated siding cleaner specifically labeled as safe for use on vinyl or aluminum siding. Always test your solution of choice on a discreet spot before committing to cleaning a full section.
Pick the Right Tools
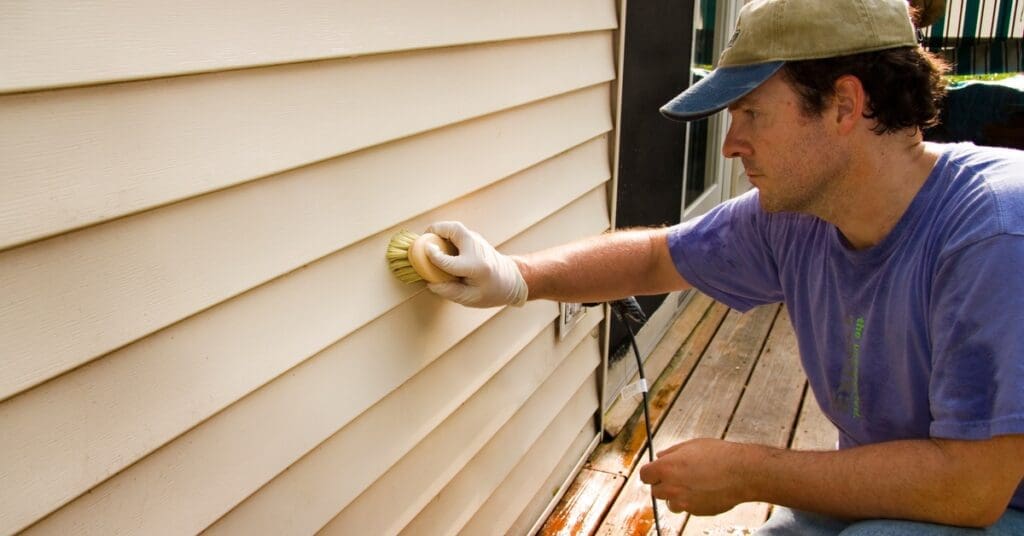
The right tools are just as important as the right cleaner. Start with a long-handled, soft-bristle brush designed for car washing or RVs. This lets you reach higher sections without needing to overextend or climb a ladder. Avoid using stiff bristles or wire brushes, as they can scratch the surface and remove protective coatings.
When rinsing, opt for a garden hose with a spray nozzle rather than a high-powered pressure washer. Pressure washers, while effective in some cases, should be used with caution. Limit pressure to 1300 PSI or lower, and never spray upward at the siding. Angling the spray down prevents water from getting behind the panels, which is something that can cause trapped moisture and mold growth.
Extension wands, microfiber cloths for drying tricky areas, and a bucket hook or utility belt can also keep supplies handy while you work. Stick to lightweight gear when possible to avoid fatigue and reduce your risk of slips or overreaching.
Follow Proper Cleaning Techniques
After everything is prepped, it’s time to apply your cleaning solution. Start at the bottom of the siding and work your way up. This might sound counterintuitive, but it helps prevent streaks and runs from forming on dry, dirty areas above your working section. Apply the cleaner in manageable sections—no more than five feet wide at a time.
Let the solution sit for about 5 to 10 minutes,depending on thetemperature and sun exposure. During this time, use a soft brush to agitate any visible dirt or stains. Pay attention to overlaps and seams, where buildup tends to collect. Scrub horizontally, following the grain of the siding, to avoid forcing water into gaps or behind panels.
Rinse Carefully
Rinsing ensures residue and grime don’t stick around or cause long-term discoloration. Always rinse from top to bottom using a steady, controlled spray to push dirt and cleaner toward the ground.
For vinyl and aluminum siding, a standard garden hose with an adjustable spray nozzle is the most effective option. Aim for a medium pressure setting that removes your solution without driving the water beneath the panels. Hold the nozzle at a 45-degree downward angle and maintain a distance of at least 12 inches from the surface to prevent damage to seams or finishes. When using a pressure washer, though, maintain a consistent distance—around 4 to 6 feet—and stay parallel to the wall to avoid damaging joints.
Focus on thoroughly clearing crevices, seams, and areas around features such as vents and windows. These areas tend to trap solution and can become streaked or sticky if not meticulously flushed.
Don’t Skip Drying in Key Spots
Most of the time, air drying is perfectly fine. However, shaded areas and tight corners may retain moisture for longer periods. That lingering dampness can promote mold growth, especially in humid conditions or after several cool nights.
Keep a microfiber cloth or soft towel on hand to wipe down problem spots, particularly under windowsills, around shutters, or where the siding overlaps. These zones benefit from a quick manual dry, which helps prevent long-term issues such as mildew or staining.
Durable Siding Starts With the Right Choice
Siding that’s easier to clean starts with siding that’s made to last. This complete guide to properly cleaning your siding gives you the tools to maintain your exterior, but sometimes, maintenance reveals larger issues, like warping, fading, or long-term water intrusion.
If you’re considering an upgrade, we can help. At A-Rite Construction, we specialize in home siding installation throughout the Wausau area. Our team is a Vinyl Siding Institute (VSI) Certified Installer. We work with premium brands like Norandex and Mastic, including options that provide superior UV protection, insulation, and durability against Wisconsin’s climate.
To find out how our siding options can improve your home’s curb appeal and performance, contact A-Rite Construction today. Our residential siding contractors are ready to help you tackle your next exterior renovation with confidence.