A heavy storm rolls through overnight, maybe it’s high winds, a barrage of hail, or a late-season snow that sticks longer than expected. You wake up to calm skies, though something just feels off. What you can’t see can cost you.
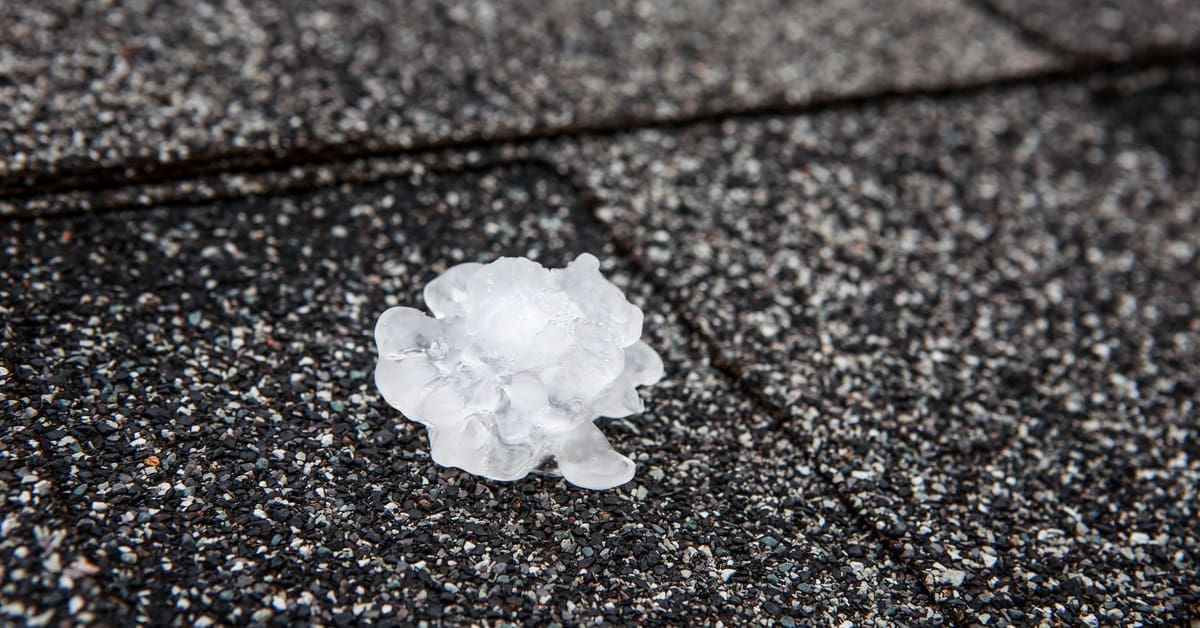
Roofing systems often take the brunt of seasonal weather. High winds can lift flashing or shift vents, hail can bruise or blister shingles, and snow or ice can strain structural components. But not all damage shows up immediately.
Here are the best practices for roofing maintenance after severe weather.
Check for Ceiling and Attic Leaks
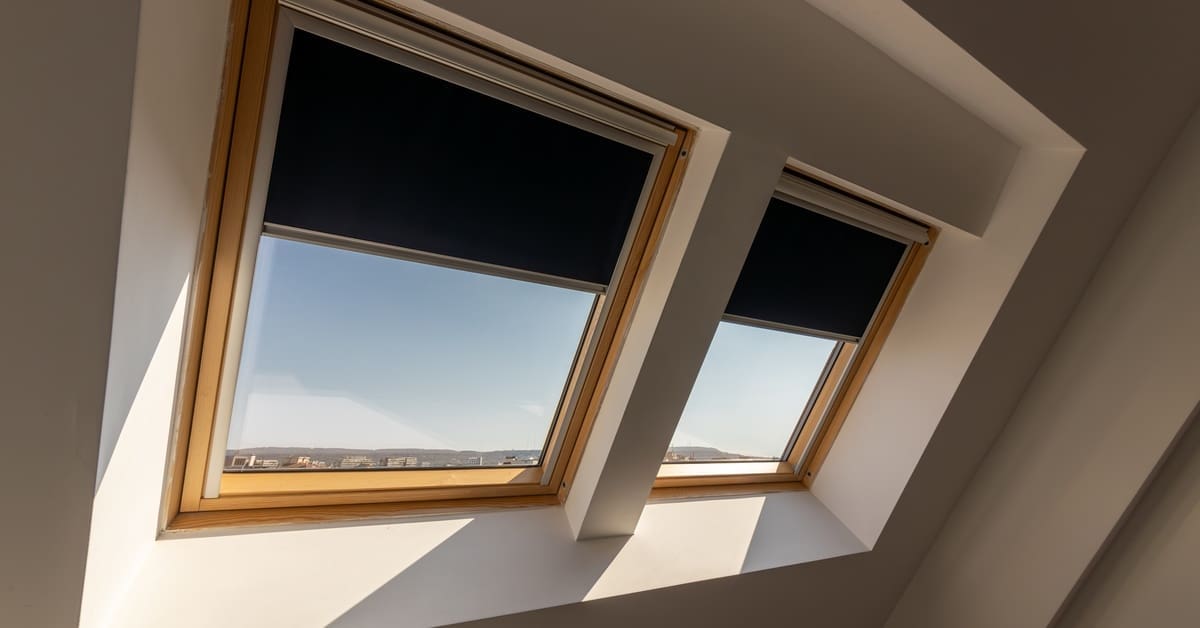
Take a slow walk through the upper levels of your home before heading outside. Start by inspecting ceilings and attic spaces for signs of water intrusion. Look for dark staining, water trails, or small puddles, especially near chimneys, skylights, or exhaust vents.
Use masking tape to mark any affected areas and write the date next to each one. This gives you a timeline to track whether the leak is active or getting worse.
Place a bucket beneath the leak if you spot active dripping. Then, carefully cut away any soaked insulation or drywall to prevent the affected ceiling from collapsing. Once things are under control, contact your local roofing company to inspect for compromised flashing or penetrations that may not be visible from below.
Look for Sagging or Bulging Drywall
Moisture doesn’t always make a dramatic entrance. Warping, bubbling paint, or a spongy feel to the ceiling—particularly near bathrooms or roof penetrations—often means water is accumulating behind the drywall.
Grab a screwdriver and pierce the lowest point to release the water slowly into a bucket. Though this is a temporary fix, relieving the pressure can prevent a total ceiling failure. Just be sure to photograph the damage before doing so, as insurance claims will require documentation of the original condition.
After draining, call a restoration contractor or roofer to check for underlying damage before the issue spreads.
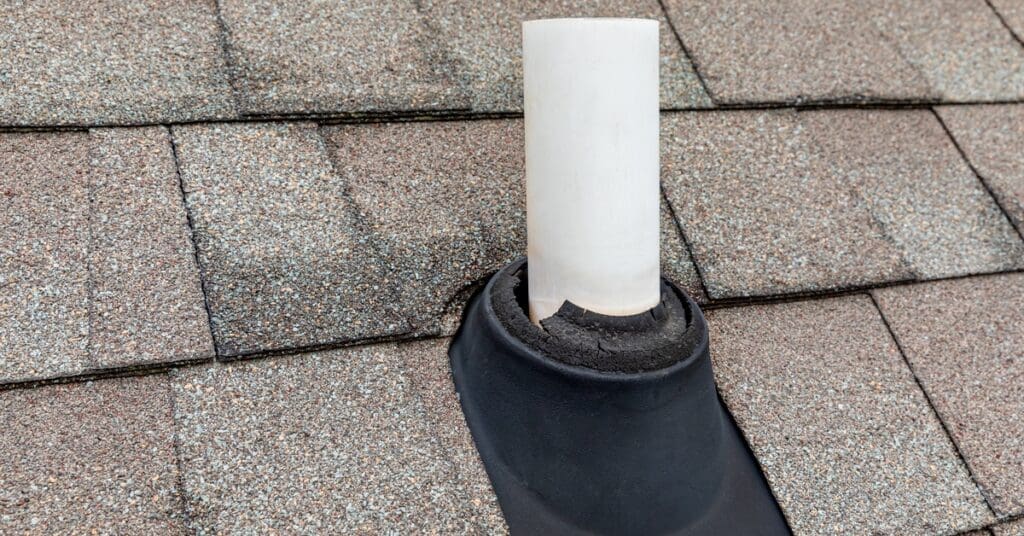
Inspect Roof Vents and Pipes
Once you confirm it is safe to go outside—after checking for fallen power lines, slick footing, and overhead debris—look at roof penetrations, such as vents, pipes, and collars, for cracks, gaps, or slight shifting.
Don’t attempt to press a vent back into place if it looks like it shifted or lifted slightly. Instead, apply roofing tape or silicone caulk as a temporary seal to prevent further water intrusion. Leave cracks or misalignments to roofing professionals, but quick action here can prevent serious leaks while you wait for repairs.
Scan for Limb and Antenna Damage
Heavy winds often send branches or mounted objects crashing into rooftops. Look for signs of stress from satellite dishes, antennas, or limbs that may have struck or come to rest on the shingles.
Only remove lightweight debris you can safely reach from the ground. A telescoping pole can dislodge branches without requiring you to climb onto anything. Avoid disturbing any items near electrical lines or tangled limbs.
Flag any affected areas with tape and take photos for your records. After clearing everything, inspect for missing shingles, crushed flashing, or impressions in the decking.
Examine Utility Entry Points
Areas where overhead utility lines meet the home are highly vulnerable during windstorms. You might notice the fascia pulling away, brackets loosening, or wires sagging at a sharper angle than usual.
While you should never attempt re-anchoring on your own, you can apply weatherproof tape to shield exposed areas until a technician can assess the damage. Always wear gloves and safety goggles while inspecting this area to protect yourself from sharp edges or debris.
Any gaps around utility entry points also create opportunities for pests or water to slip through—issues your utility provider may be responsible for resolving.
Scan for Granule Loss Patterns
After a storm, check gutter runoff points, splash blocks, and driveway edges for black or gray granules. These gritty particles signal roof damage, especially when found in large piles. Granule loss weakens shingles and often points to hail impact or shingle aging.
If your gutters appear clear, scan the roofline using binoculars for discoloration or curling—signs of wear that don’t always leave behind granules. Gaps near the edges or light-colored patches can indicate granule-shedding even if the particles haven’t collected visibly below.
Avoid rinsing your gutters or sweeping granules from walkways until a roofer or insurance adjuster has inspected the area. Removing potential evidence can complicate claims or delay professional evaluation.
However, clear leaf clogs or twigs using gloves and a stable ladder if the water isn’t draining, and you’ve already thoroughly documented the damage. Just don’t disturb shingle debris or dislodge more granules in the process.

Watch for Impact Blistering
Some storm-related damage doesn’t appear right away. Impact blistering—caused by hailstones or flying debris—can develop over the course of days or weeks. From a ladder (if safe to use) or with binoculars, look for irregularly textured patches or small circular spots on shingles. Pressing gently with a broom handle or gloved finger, you may notice soft pockets that give slightly under pressure.
These blisters indicate the shingles’ structural layers have separated. Take clear photos of anything suspicious and jot down the location so you can follow up with a roofing contractor. Do not walk directly on blistered areas; the pressure could cause cracks that worsen water intrusion.
Catch Gutter Pull-Away
Gutters often bear the brunt of wind, ice, and snow during seasonal storms. Step back and scan along the gutter line for signs of separation from the fascia. Sagging brackets, bent nails, or leaning downspouts are early signs that they are no longer directing water flow away from the house.
Improper drainage can cause water to pool near porch overhangs or roof valleys. Watch for puddles below those zones.
Use gutter hangers or outdoor zip ties to temporarily stabilize visibly loose sections. This solution won’t correct the root issue, but it can minimize water pooling until the professionals can make repairs.
Avoid Warranty Mistakes
It’s tempting to make quick repairs, especially when damage seems minor. But small fixes—such as caulking a seam or nailing down a loose shingle—can sometimes void a warranty or reduce the likelihood of insurance coverage. Check the fine print in your roofing warranty or call your installer for clarification before making any modifications.
Common warranty-voiding actions include applying sealants to lifted shingles, walking across blistered sections, and pressure-washing storm debris. When in doubt, avoid altering anything.
Take detailed notes, photographs, and videos instead. Thorough documentation helps professionals assess the problem more effectively, and it protects your options for claims and repairs.
Call a Certified Roofer
Sometimes, even the most observant homeowner can miss subtle but serious signs of roof damage. That’s why one of the best practices for roofing maintenance after severe weather is to schedule a roofing inspection.
Request a written inspection report and save a digital folder of all your photos, notes, and dates. A professional assessment ensures that nothing’s overlooked and that your warranty, insurance, and long-term roof integrity stay intact.
A-Rite Construction has helped homeowners protect their homes with storm-smart solutions and proven craftsmanship. As GAF Master Elite and Owens Corning roofing contractors in Wausau, Wisconsin, we know how to assess storm damage, identify next steps, and handle the work with the precision your home deserves.
Let’s make sure your home is ready for the next season—on your schedule, and on your terms.